

How to prepare your first visit to a glass studio for production?
This week we want to share some insights from our glass design and glass blowing experiences from the past decade. If you are recent graduate or new in the glass design industry, we collected few tips for your first visit to a glass studio and how to be prepared.
Finding the right glass studio
Depending on where you are based, how far you want to travel, timeline of your project, this part is the most important. It is possible to reach out by phone or email to few glass studios and check their availability. While some glass studios are both hotshop and coldworking, some places focus on kiln formed glass. Glassblowing is a true teamwork so the studio you choose to work with should have a creative dynamic that works for both sides. It is important that the equipment you may need is operational and the studio can provide the dimensions and enough workforce to make your project come into life.
While some designers prefer to work one-to-one with glass artists and be involved in the making, some others prefer larger teams who can produce larger quantities in a shorter amount of time. It would be good ask studio hire pricing, additional fees for different equipments (such as larger kilns, colour, polishing tools). If it is possible, it would be also good to ask for studio photos or to an introductory visit to understand the logistics. This information comes in handy when you need to transport the glass work whether it is by car, train, air cargo or cargo.

Prepare your files and mockups
Before visiting the studio, it is practical to have all the technical drawings, digital renderings, foam or paper models and if possible full scale mock-ups. Some projects require a template model for the outlines of a glass vessel or a mould to cast inside the kiln. Ensure to get all these ready and share with the glass studio a week in advance to confirm if this project is feasible or needs a revision within physical limits of making.


Choosing and ordering colours
This would be one of the favourite steps for preparation. You can ask the glass studio if they already work with a colour supplier. If not, try to find a local colour supplier which imports glass colours within the country you live in. Colours can be expensive and you would not want to add customs delays.
Some glass manufacturing brands are only compatible with their own brands (such as Bullseye glass, Effetre glass) but other brands might work with each other. You can read the data sheets and choose from the available colours charts. The compatibility issue depends on the coefficient of the clear glass. You can also learn this from the glass studio you will choose the work with.
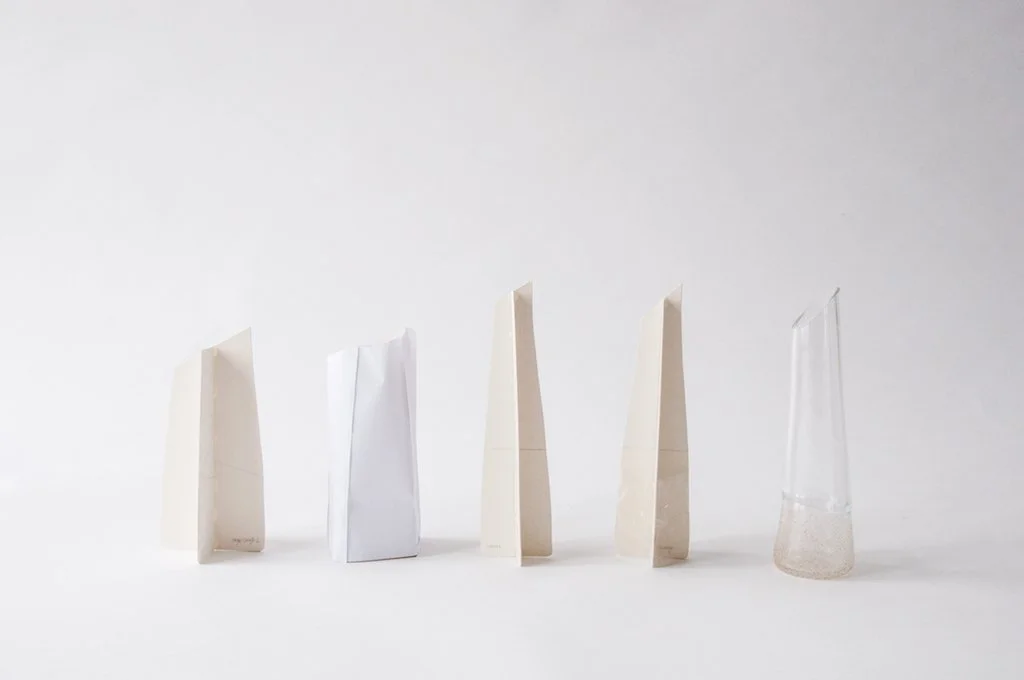
In terms of colours, have fun! Some colours may not immediately show while they are hot in the studio. They will need to be cooled down in a kiln to understand the true hue. There are three main types of colours formats: rod, chips and powder. Depending on the intensity and blending, you can mix and match these formats.


Colour swatches from a glass studio
Getting ready and the packing list
A day or two before, you can send your PDF design file to the glass studio to prepare for the equipment and materials which need pre-heating. Most colours needs to be heated a couple of hours before the start of a work day.
If you have any prior glassblowing knowledge, we recommend to work out the steps of making the pieces in sketches and notes for an easier process at the studio. If you can solve the complicated part before arrival, it will you save time for sure.
If you are wondering what to bring and wear for your first glassblowing day, here is a essentials list below:
Natural fabric comfortable clothes (i.e jeans and t-shirt)
Covered comfortable shoes (trainers or boots that are hear resistant)
Protective UV glasses (do not wear contact lenses)
Heat resistant gloves
Water
Design files (possibly printed in 1:1 scale), technical drawings and mockups
Camera + tripod to document your process while you work
Notebook and pencil for documentation notes
Hair tie for long hair
Deodorant
Change of spare clothes for afterwards
Remove all loose items such as jewellery
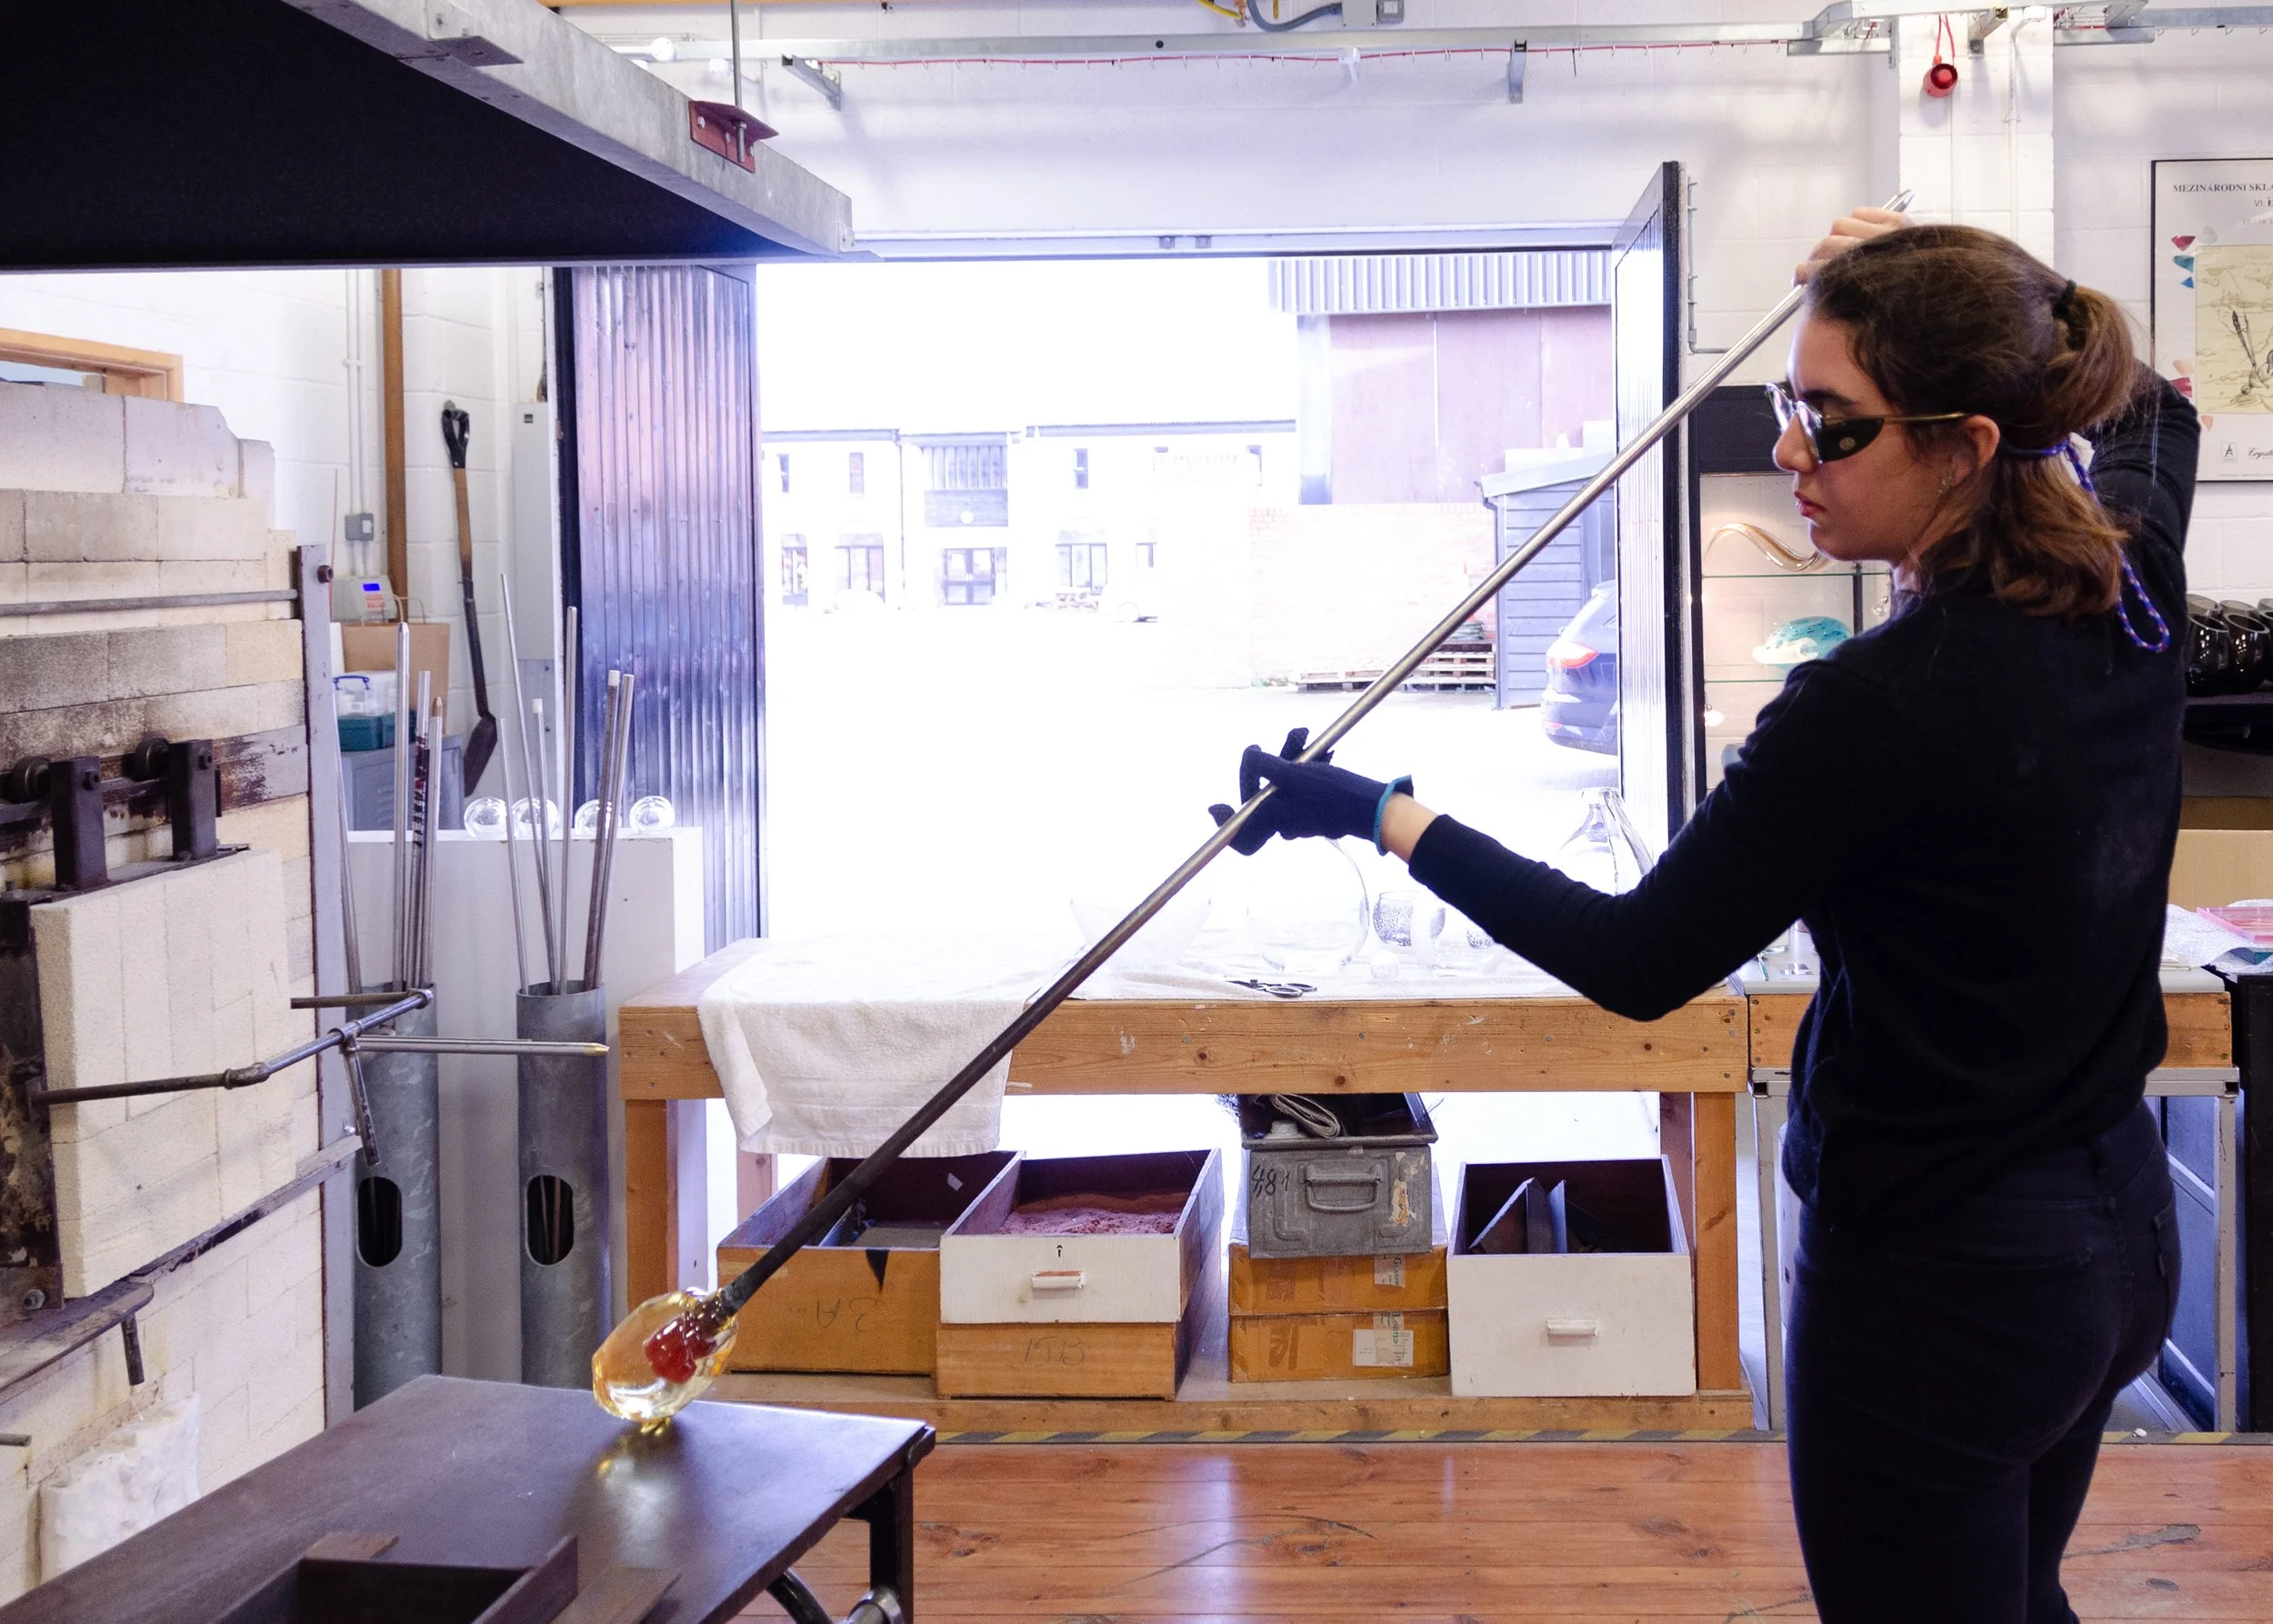
Attached hair, safety googles with UV filter and heat resistant gloves are essential to avoid accident at the glass studio
Traveling to the glass studio
Usually this will be an overnight trip or a two day day-trip because you will make the work on the first day and see the results on the second day. Glass needs to be cooled down in incremental temperatures. An annealer will go from 1000°C to room temperature in 12-16 hours. If the work has lot of thick glass, it may take longer. On the second day, you will be able to check the results of your work around mid-day. You can mark the cutting parts, polish the bottom of the vessels and refine the edges of the rims. Sandblasting, UV glue and other surface treatments will also happen at this stage.
Documentation of the process is very important. Some glass pieces will succeed but some will crack, break or collapse. This is natural in the process. There will be a lot of learning points such as which colours work better, how many glass gathers you need to reach the dimensions of the object you designed. Writing down your notes, taking photos and videos are also useful for sharing later on social media and newsletters.

Sketch by Melia De Groot, 2024
Transporting your work back
Now that you have done the work, this is the most scary part. We recommend generously bubble wrapping and adding extra padding around the artworks. Some pieces may dividers inside the crates or cardboard boxes to avoid breakage. The peanut packing fillers, newspaper, foam support are all good options.
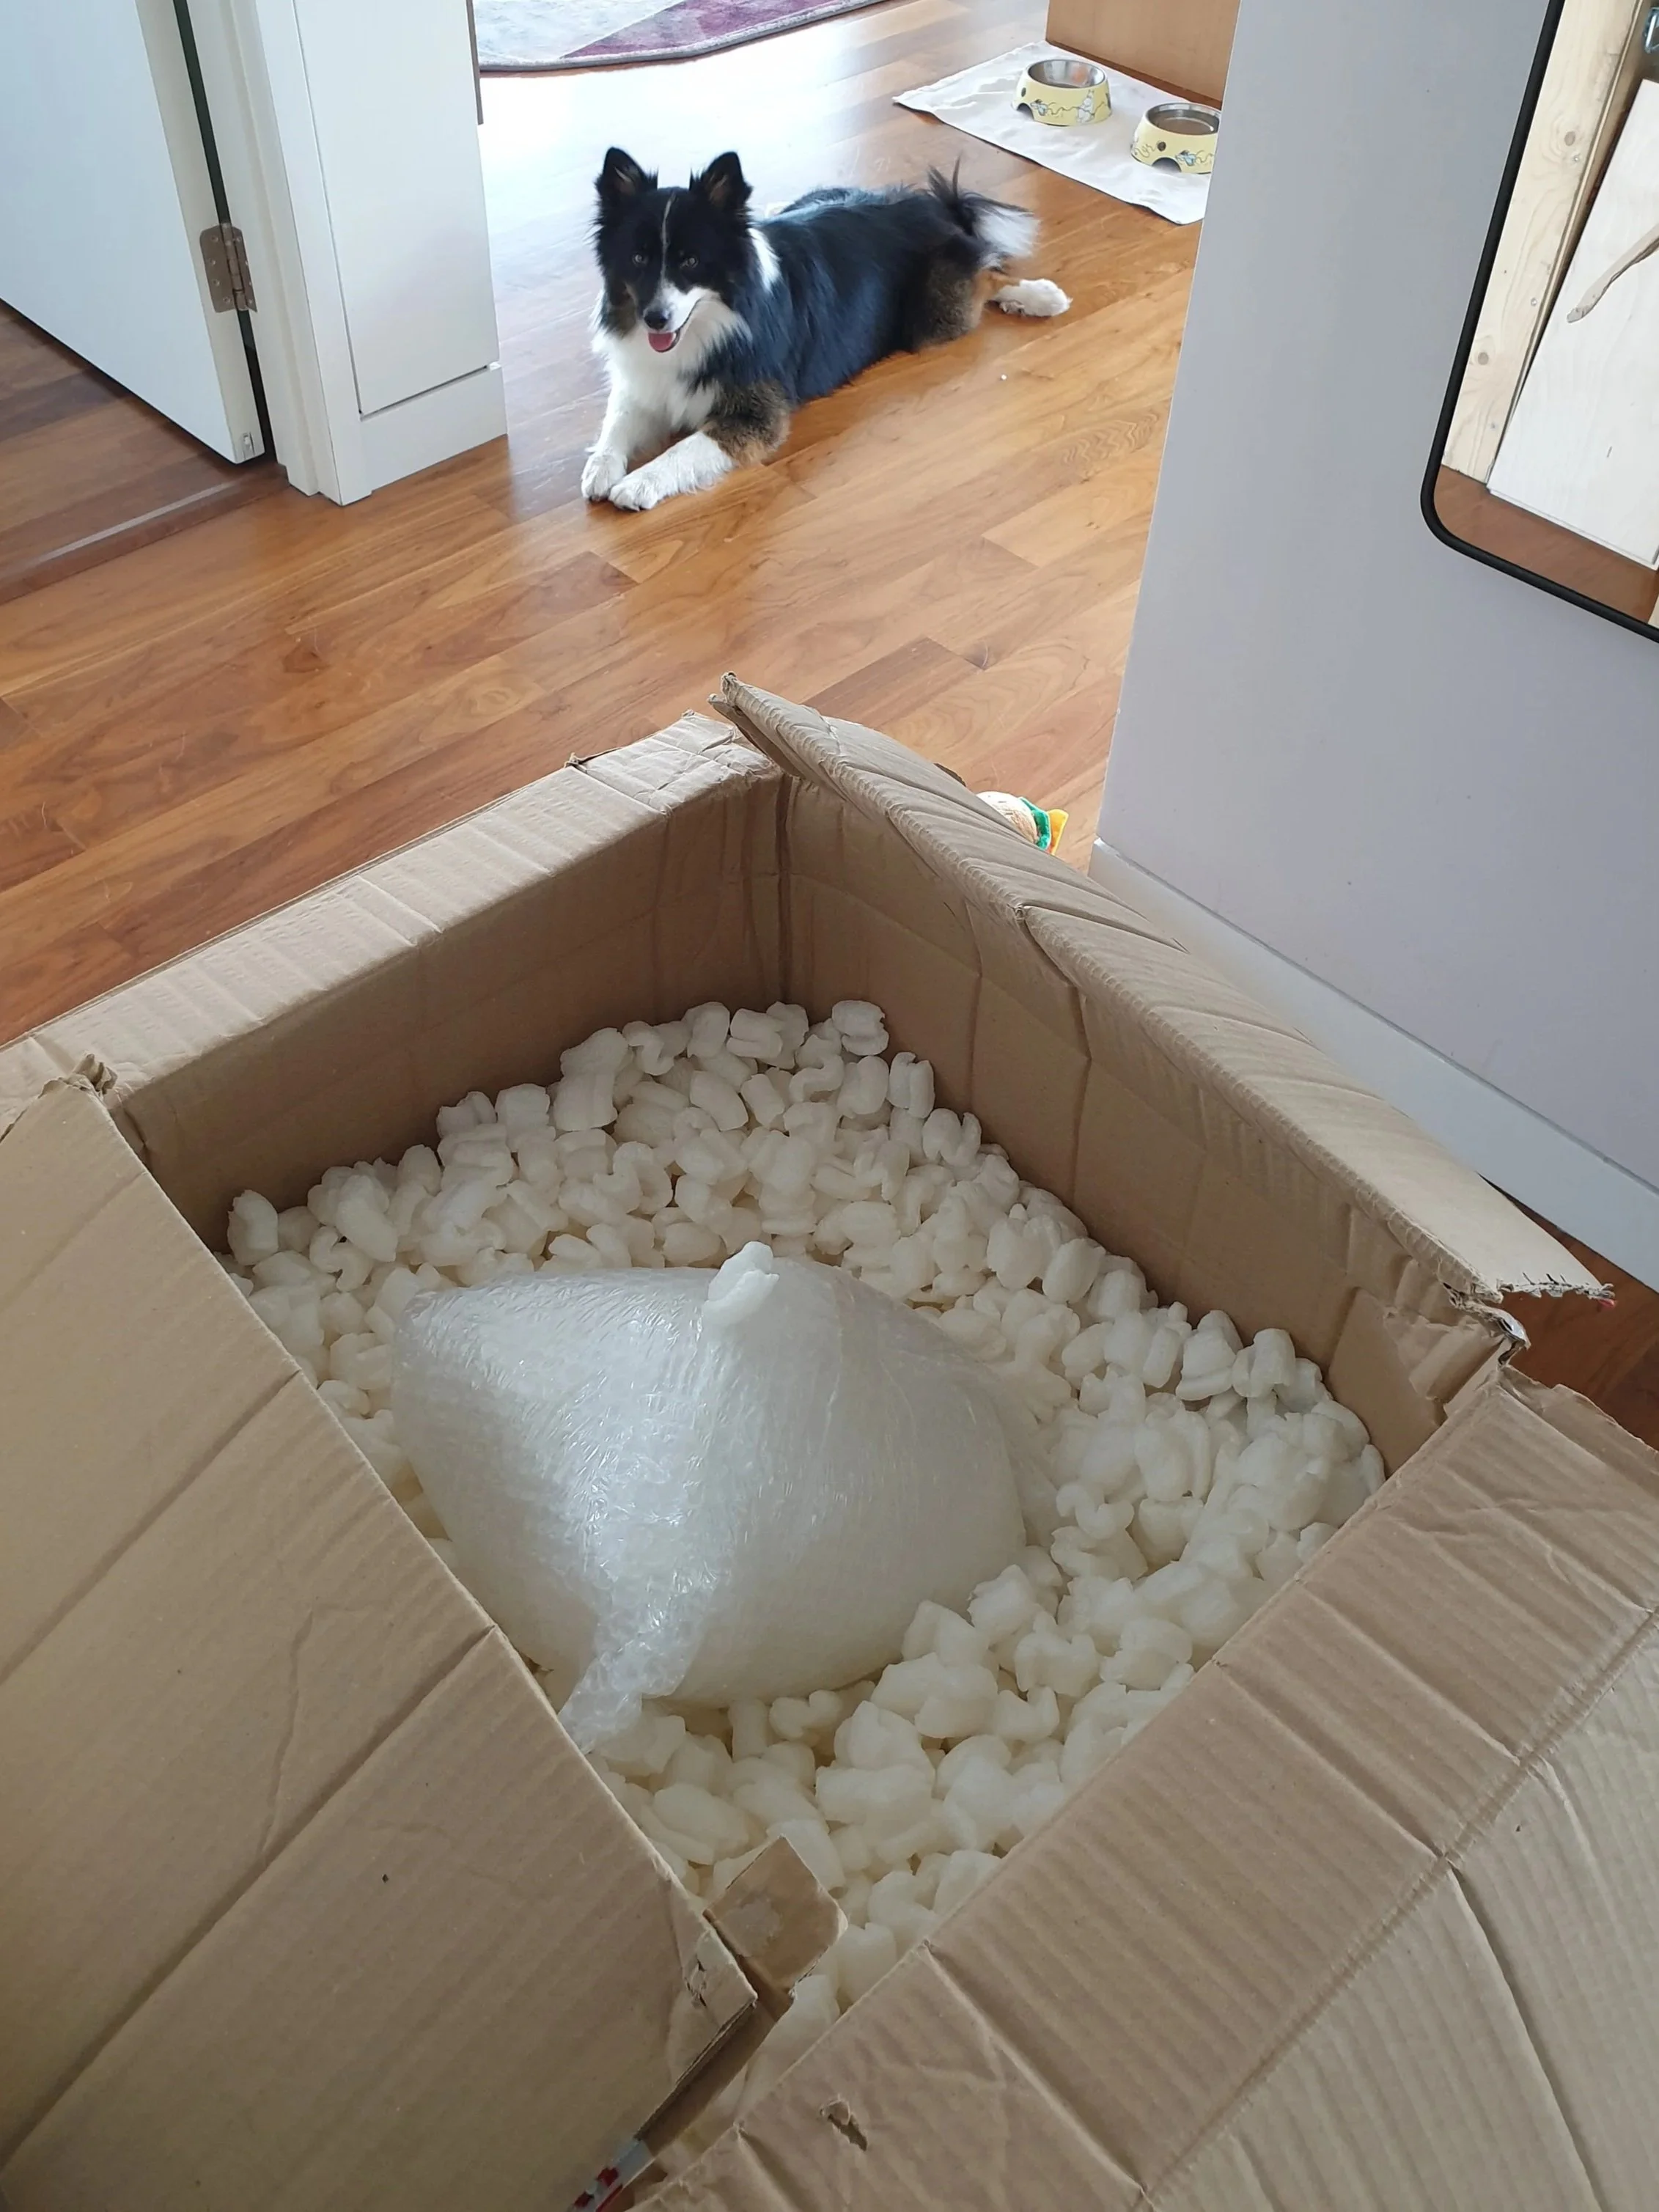
Floki’s advice on packing:
You can ship with a recommended shipment company or take it with you in a pelicase/carry on bag depending on the weight and size.
If you chose cargo, make sure to add insurance for the piece and fill out the paperwork correctly. Don’t forget to photograph your boxes before sending them out. If any accidents occur, you can file a damage report to cover for any loses.